| Creality K1 Specs |
Build Volume (LxWxH) |
Nozzle Size | Standard Layer Height Options |
Tolerance (Minimum Gap Reccomended) |
|---|---|---|---|---|
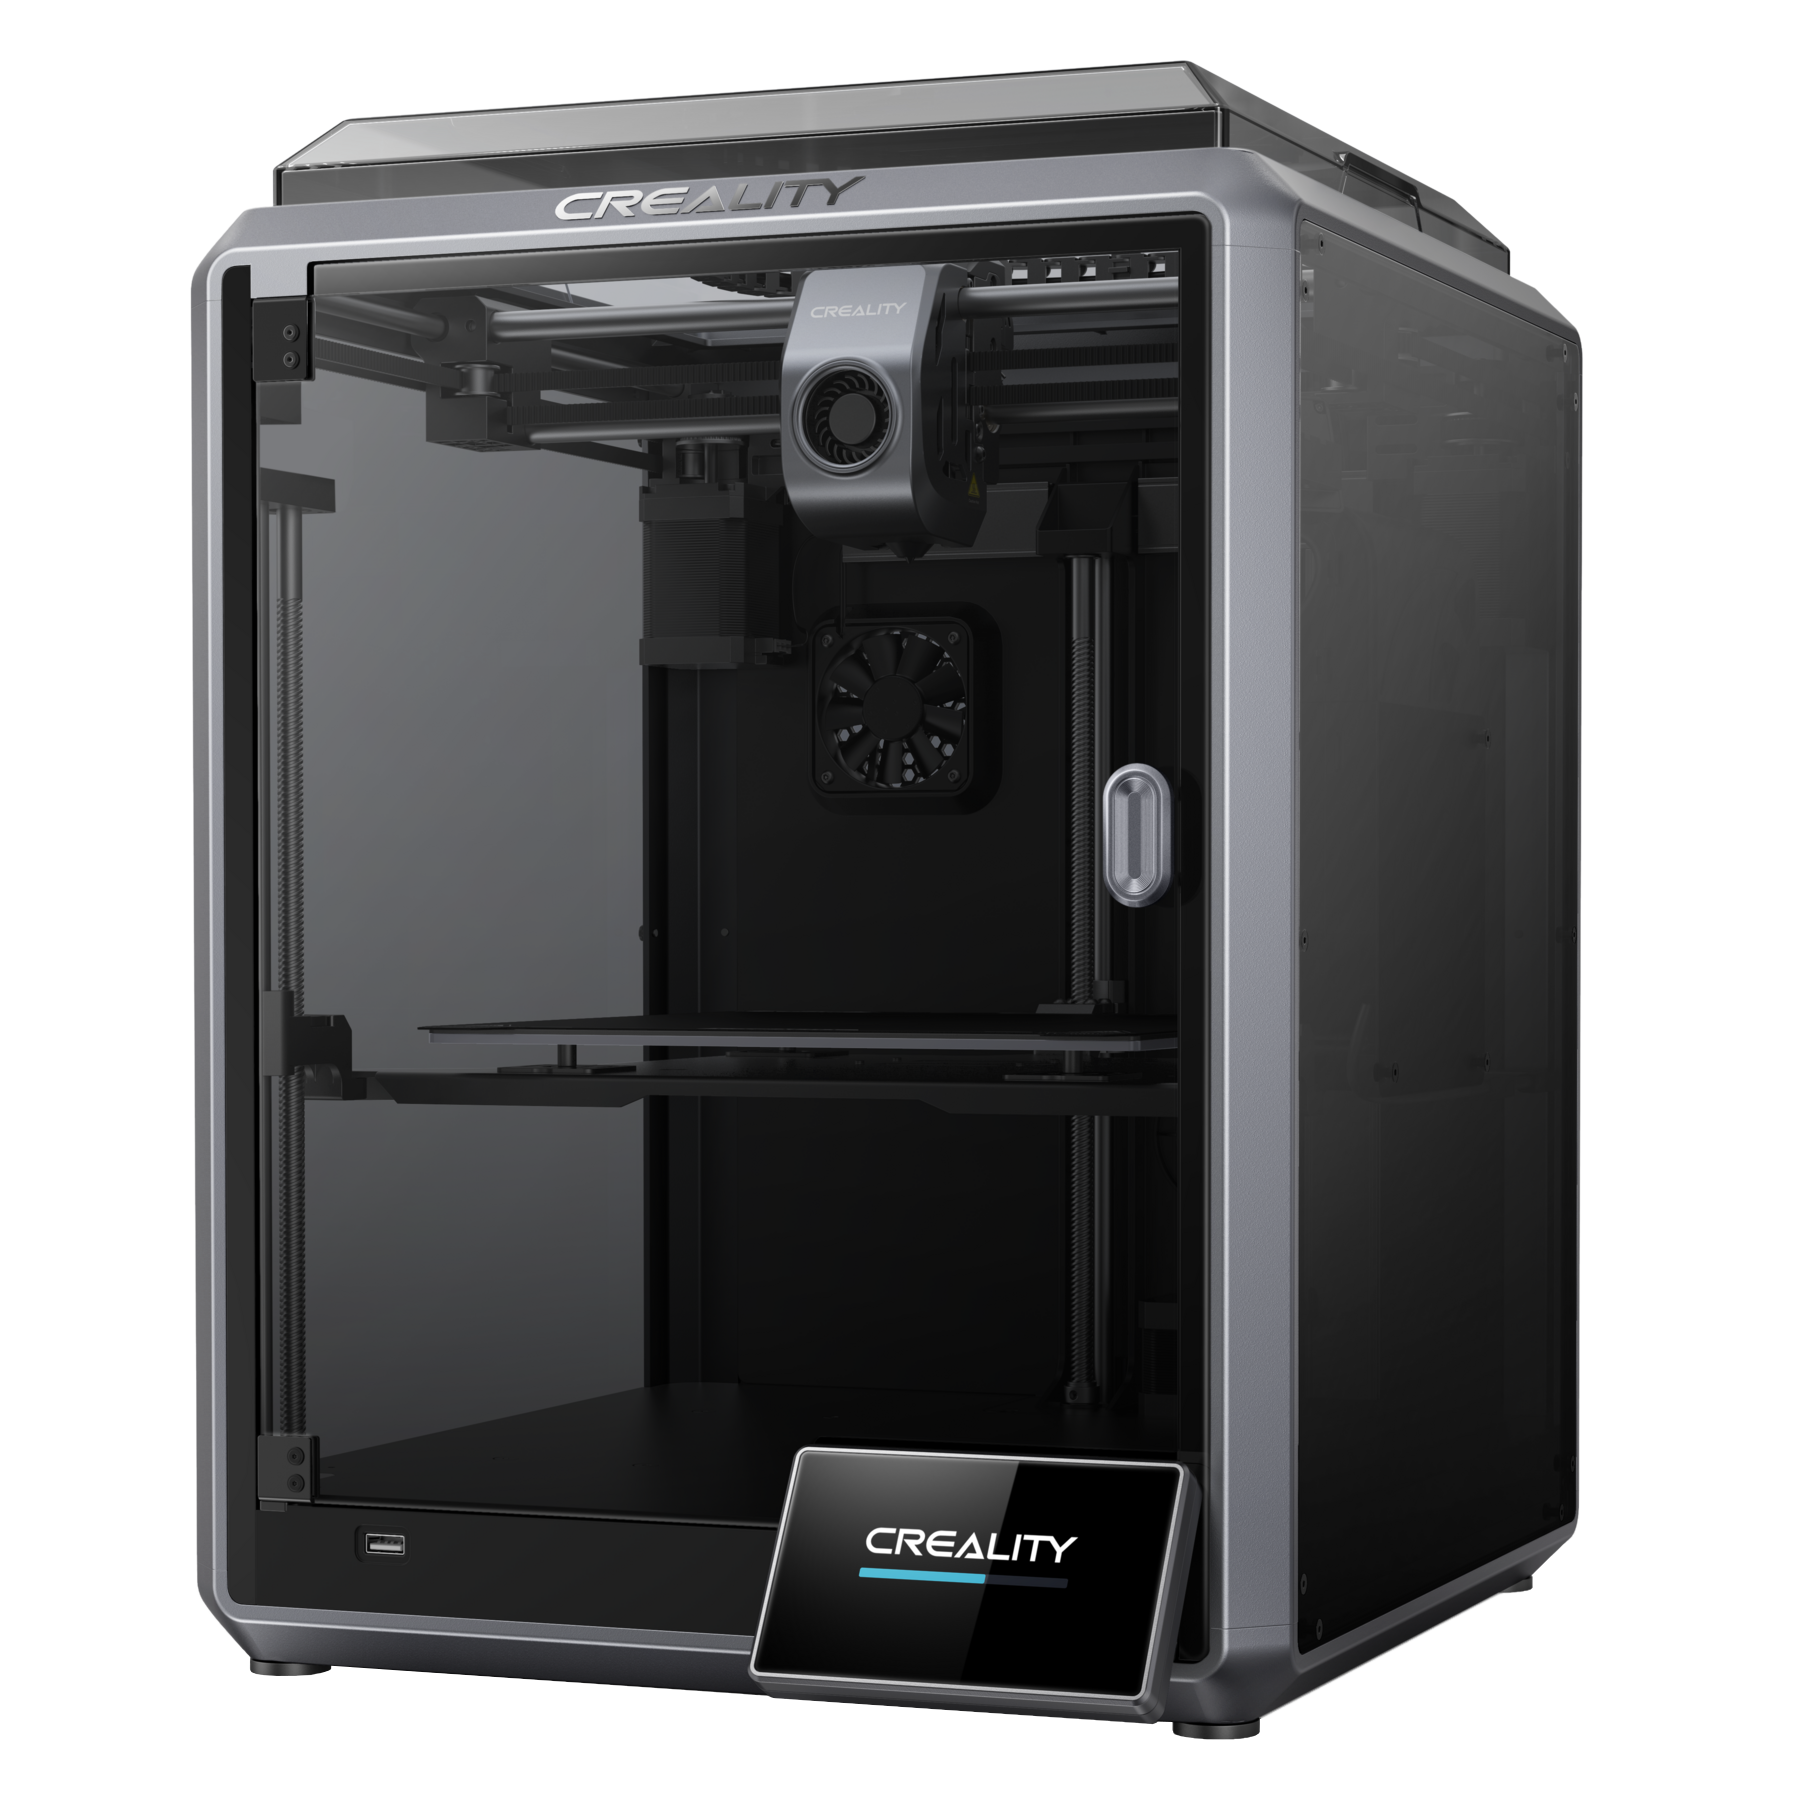 |
220x220x250mm | 0.4mm | 0.16mm 0.20mm 0.24mm |
± 0.2mm |
| Creality K1C Specs |
Build Volume (LxWxH) |
Nozzle Size | Standard Layer Height Options |
Tolerance (Minimum Gap Reccomended) |
|---|---|---|---|---|
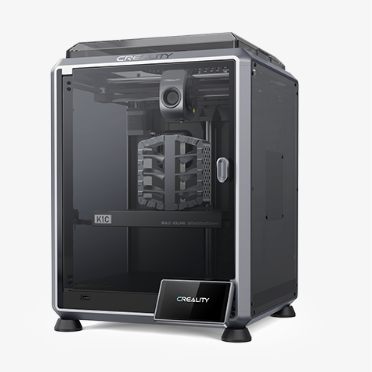 |
220x220x250mm | 0.4mm | 0.16mm 0.20mm 0.24mm |
± 0.2mm |
| Creality K1 Max Specs |
Build Volume (LxWxH) |
Nozzle Size | Standard Layer Height Options |
Tolerance (Minimum Gap Reccomended) |
|---|---|---|---|---|
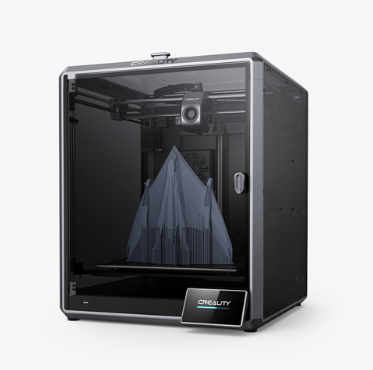 |
300x300x300mm | 0.4mm | 0.16mm 0.20mm 0.24mm |
± 0.2mm |
| Voron 2.4 Specs |
Build Volume (LxWxH) |
Nozzle Size | Standard Layer Height Options |
Tolerance (Minimum Gap Reccomended) |
|---|---|---|---|---|
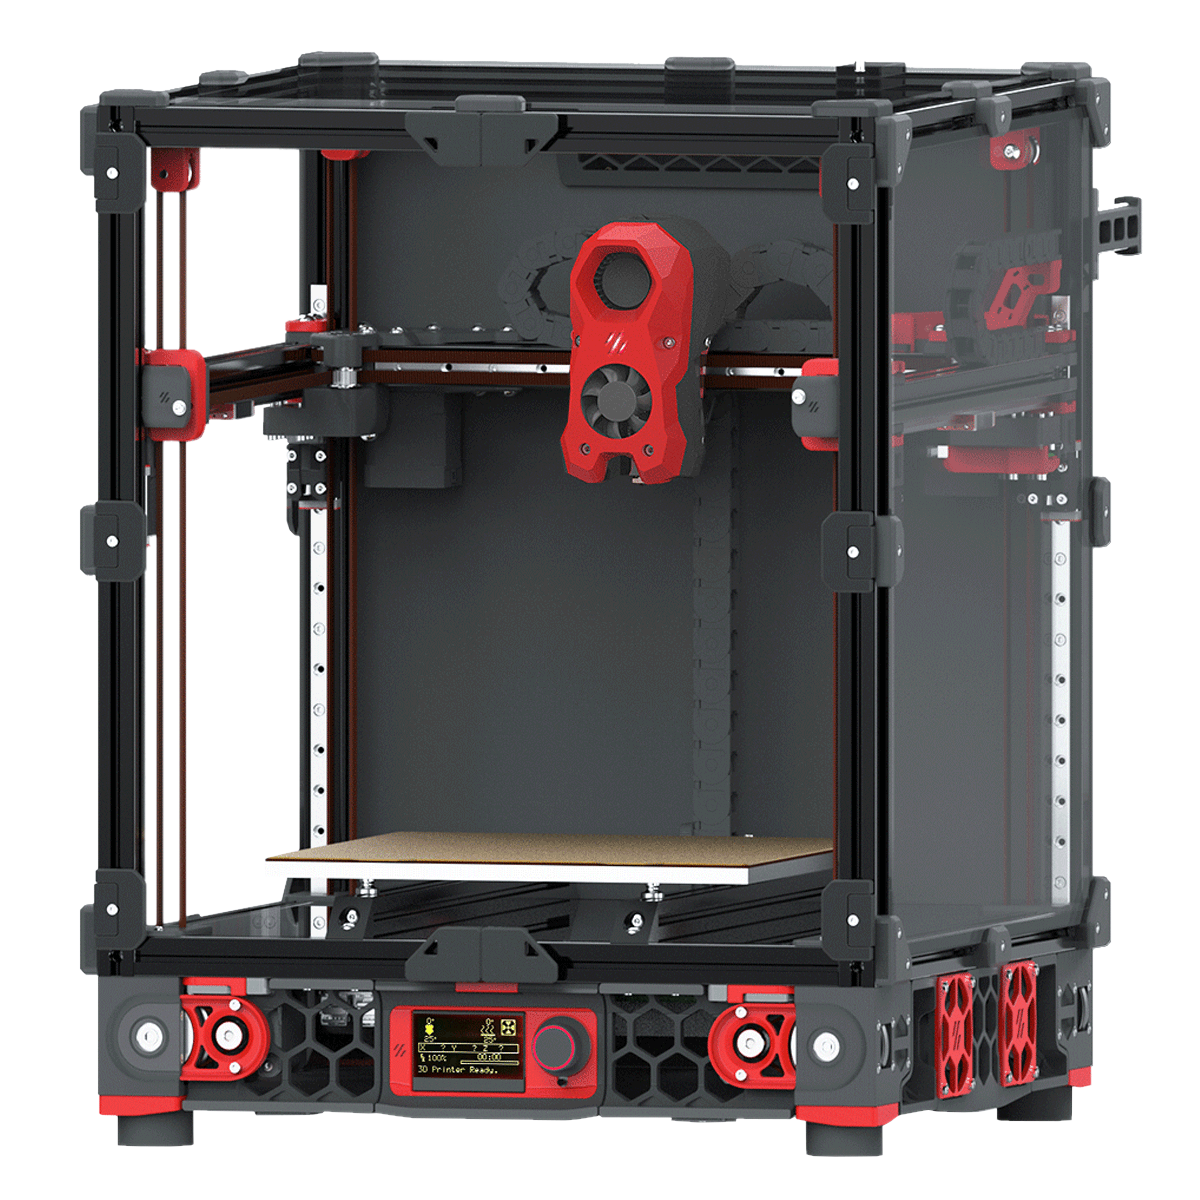 |
340x340x280mm | 0.6mm | 0.18mm 0.24mm 0.30mm 0.36mm 0.42mm |
± 0.3mm |
Our standard materials available for use in FFF machines are PLA, ASA, TPU, PETG, and in some specialty cases, PEEK.
¶ About Fused Filament Fabrication (FFF)
The FFF process (also called FDM, a proprietary name) uses a heated nozzle and motorized extruder to melt plastic filament into a thick liquid, and uses that liquid to draw a thin cross-section of a 3D model onto a heated plate. After drawing the outline of the cross-section, it fills in the shape with the liquid plastic. The temperature of the nozzle is set just above the melting temperature of the material, so that the material solidifies within a few seconds after it leaves the nozzle. Once the whole layer has been drawn, the tool head moves upward a small amount to draw the next layer, and continues building up layers until the part is complete.
During the slicing process, any parts of the 3D model that would be extruded in mid-air can be given supports to prevent failure (either automatically or manually.) During the printing process, these supports are drawn in plastic as well. After the process is complete, the printed part is removed from the build plate either via a paint scraper, or by flexing the build plate, depending on the printer's design. Supports, if present, are removed manually, or with various standard tools such as needle-nose pliers, dental picks, etc.
Printers can use a variety of plastics, depending on the printer's heat ranges and enclosure features. Some of the standard plastics we print using the FFF process include PLA, ASA, TPU, PETG, and in some specialty cases, even PEEK.
Advantages:
- FFF is almost always the cheapest way to 3D print parts, though some specialty plastics can be very expensive.
- A wide variety of filaments are available, with many different mechanical properties and specialty colors.
- Little to no PPE is required, and most materials used in FFF processes are very safe to handle.
- The FFF process is fairly forgiving of poor quality models and designs, and has been well tested in the commercial and hobbyist use cases. As a result, it is a good "introductory" process for understanding 3D printing concepts and limitations for beginning designers.
- The FFF process allows the user to control how much plastic is inside of the part (from 0-100% plastic) by varying how much of the interior of each layer is drawn in extruded plastic. This allows the user to tune a part's weight and strength without changing it's external geometry.
Disadvantages:
- FFF printing is generally the lowest resolution of all 3D printing processes. While some companies offer vapor-smoothing solutions for these prints, usually this "smoothing" solution comes at the cost of further erosion of a part's detail and dimensional accuracy.
- FFF printing requires adding supports for any faces of the model that are angled at 45 degrees or more into the air (These are called overhangs). Overhangs cause layers to print liquid plastic in mid-air, with nothing supporting them underneath. As overhangs get steeper, more of each layer prints in midair, causing poor print quality, and eventually total print failure. Such failure can even damage the machine itself, in extreme cases. Depending on part geometry, these supports can be difficult and frustrating to remove for beginners.
- FFF prints are inherently weaker in the Z-axis due to weaker adhesion between layers. While each extruded layer does melt and fuse to the layer below it, this bond will always be weaker than injection molded plastic.
- Similar to the previous point, the strength of FFF prints generally does not benefit from increasing infill above 70-80% density. This fact, compounded by the fact that FFF machines require lots of delicate tuning to achieve successful prints at 100% infill density, means that the RPS generally limits students to 80% infill.
- Most plastics used in FFF printing have low melting points and glass transition temperatures, so you should always check the TDS of your material before exposing parts to high temperatures.
- While FFF prints can be made watertight to a degree (especially through coatings to seal them,) they should not be highly pressurized, especially when combined with high temperatures, due to weak inter-layer bonds in the z axis, as well as generally low glass transition temperatures.
- While "food-safe" filaments can be purchased, all FFF prints have very small pores between layers, which can allow microbes to infiltrate the part in ways that make them difficult or impossible to clean, even if they appear clean to the naked eye. As a result, FFF prints should not be used for repeated food or drink consumption.
¶ Preparing and Slicing Files
To prepare your 3D models for use in our machines, please follow the instructions for the installation, setup, and usage of OrcaSlicer on the following page: OrcaSlicer.
If you need to change the filament on a 3D printer, please ask one of the staff members. Always keep filament tightly wound and tuck the end into the holes on the side of the cardboard holder. This ensures that there are no tangles for future use.
Please note: All printers printing in ASA will undergo a 10 minute heat soak. This means that once you have clicked "Print" on the machine, there is a 10 minute waiting period before your part begins printing. This heat soak ensures consistency for ASA prints in which the bed's complete surface area is thoroughly heated to the same temperature.
¶ Post Processing
Required PPE: None
Once the print has concluded, allow the part and build plate to cool for a few minutes, then extract the build plate from the machine. Please note if handling ASA parts right away, the bed will be hot to touch, so handle with care. Hold the build plate over a clean work surface, and flex the build plate to pop your part(s) loose. If needed, use the tools available in the RPS to remove any supports or strings remaining on the print. If you need assistance, RPS staff are always present to help with advice! Please ensure that you return hand tools to their proper locations, and place the build plate back into the machine for other users.
¶ Printing With Your Own Filament (BYOF)
Printing with your own filament gives you a 50% discount on credits!
To print with your own filament, simply make a reservation like normal (which will use the full amount of credits), and come in at your allotted print time. When slicing your print, ensure that your settings are complacent with the current RPS standard, which can be found in the "Preparing and Slicing Files" section above. Make sure to confirm with an RPS employee that the filament you are printing with is allowable. The RPS reserves the right to deny any personal filament from printing on our printers. Certain filaments can damage the equipment. As long as the filament is decent quality and not known to damage printers, it will almost certainly be approved. Ask an RPS employee for assistance if you have any other questions.
After you begin your print, notify an RPS employee that you are printing with your own filament, and they will go into the system and manually give you a 50% discount. If you are reserving a time slot and you do not have enough credits to reserve normally but you do with the BYOF discount, email us at meen3dprinting@tamu.edu.