¶ How to use Inkscape
If images are hard to read due to pixelization, it may be due to browser compression. Click/press on the image to see a full screen image.
Inkscape is a free, open source vector graphics editor available to GNU/Linux, Windows, and macOS users. It is a good second option to Lightburn for those who do not want to pay additional fees.
¶ Installation
Inkscape can be downloaded for free here. Click the correct user type and follow the steps on the website.
¶ Setup
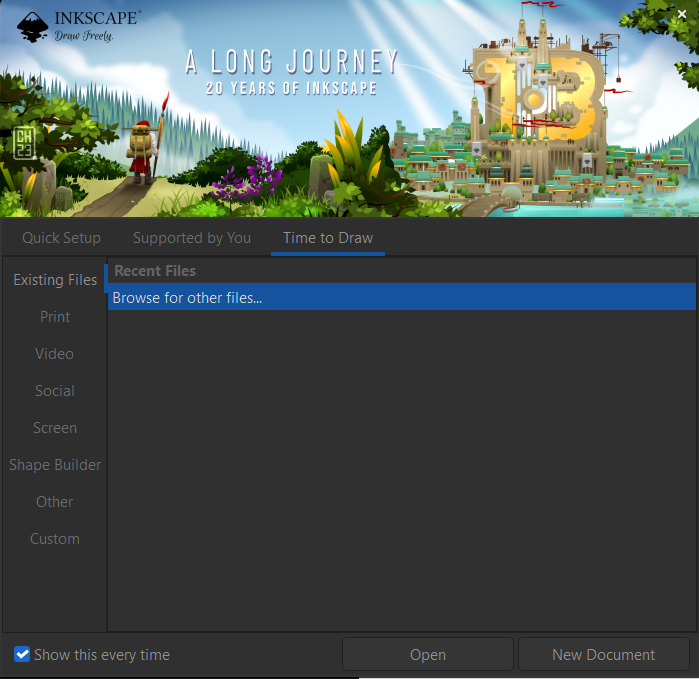
Open Inkscape by importing a DXF file or opening a new document.
First, set the dimensions of the document area to ensure your design will fit within the laser cutting space. Click File -> Document Properties (Shift+Ctrl+D). Please note, all Inkscape default settings are in millimeters, so change to inches when setting the dimensions. Depending on which laser cutter you will be using, set the correct dimensions of the document as stated below:
| Laser Cutter | Dimensions (HxW) |
|---|---|
| Dremel Laser | 12x19 in. |
| Omtech Laser | 12x24 in. |
¶ Usage
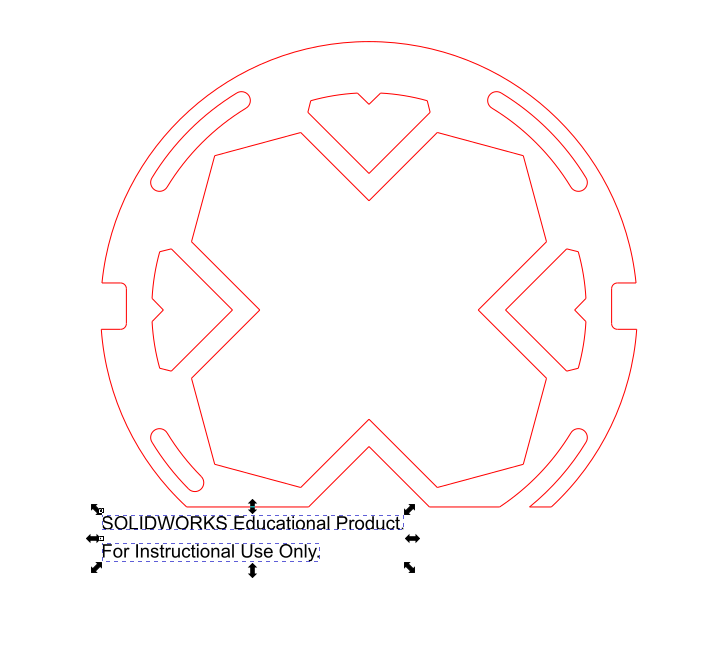
- Load an SVG or DXF vector file in millimeters. This will most likely come from an engineering drawing in Solidworks that must be exported in millimeters as well. Always double check units once imported.
- A window will pop up, keep the Manual scale option, and click OK. If another window pops up, press OK as well.
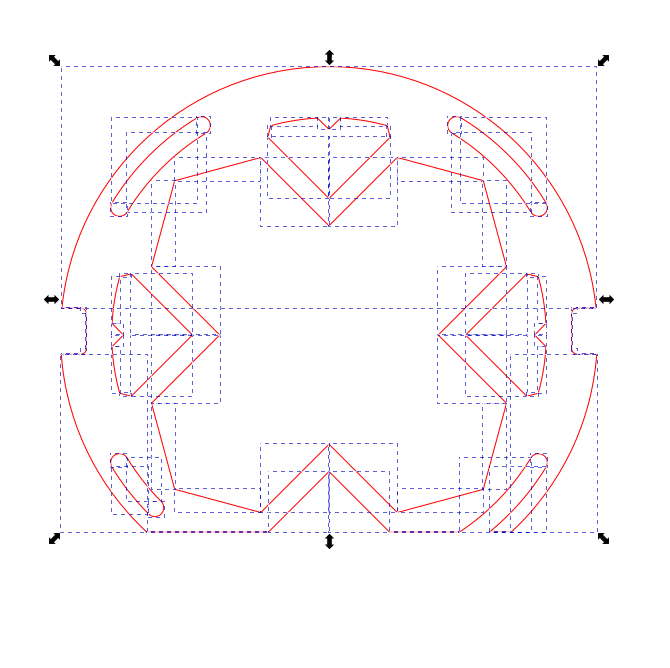
- Select any SolidWorks logos and delete them. Select the whole design and press Ctrl+G to group the design as one shape.
Step 1 |
Step 2 |
Step 3 |
|---|---|---|
 |
 |
 |
-
On the right panel, the main objects required are "Fill and Stroke" and "Align and Distribute". Add these by clicking Object -> Fill and Stroke and Object -> Align and Distribute. Fill and Stroke will allow you to choose cutting and engraving settings and Align and Distribute will allow you to align shapes to have as many models fit within the cutting area.
-
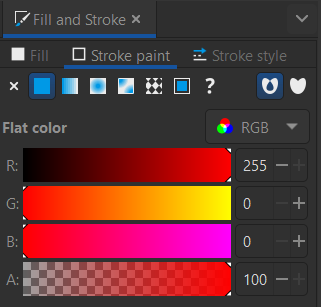
When aligning shapes, there are multiple means of aligning: relative to last selected, first selected, biggest object, smallest object, page, drawing, and selection area. The most common is selection area. Below are the layer settings for Fill and Stroke:
| Type of Layer | Fill |
Stroke Paint |
Stroke Style |
|---|---|---|---|
| Cut | 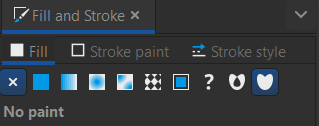 |
 |
 |
| Engrave |  |
|
|
- Once the Fill and Stroke and Align and Distribute settings are set, the file should be ready to laser cut or engrave. If laser cutting on the Omtech, save file as an SVG or DXF on a USB. If laser cutting on the Dremel, save file as a PDF on a USB.